Composting in Small Spaces

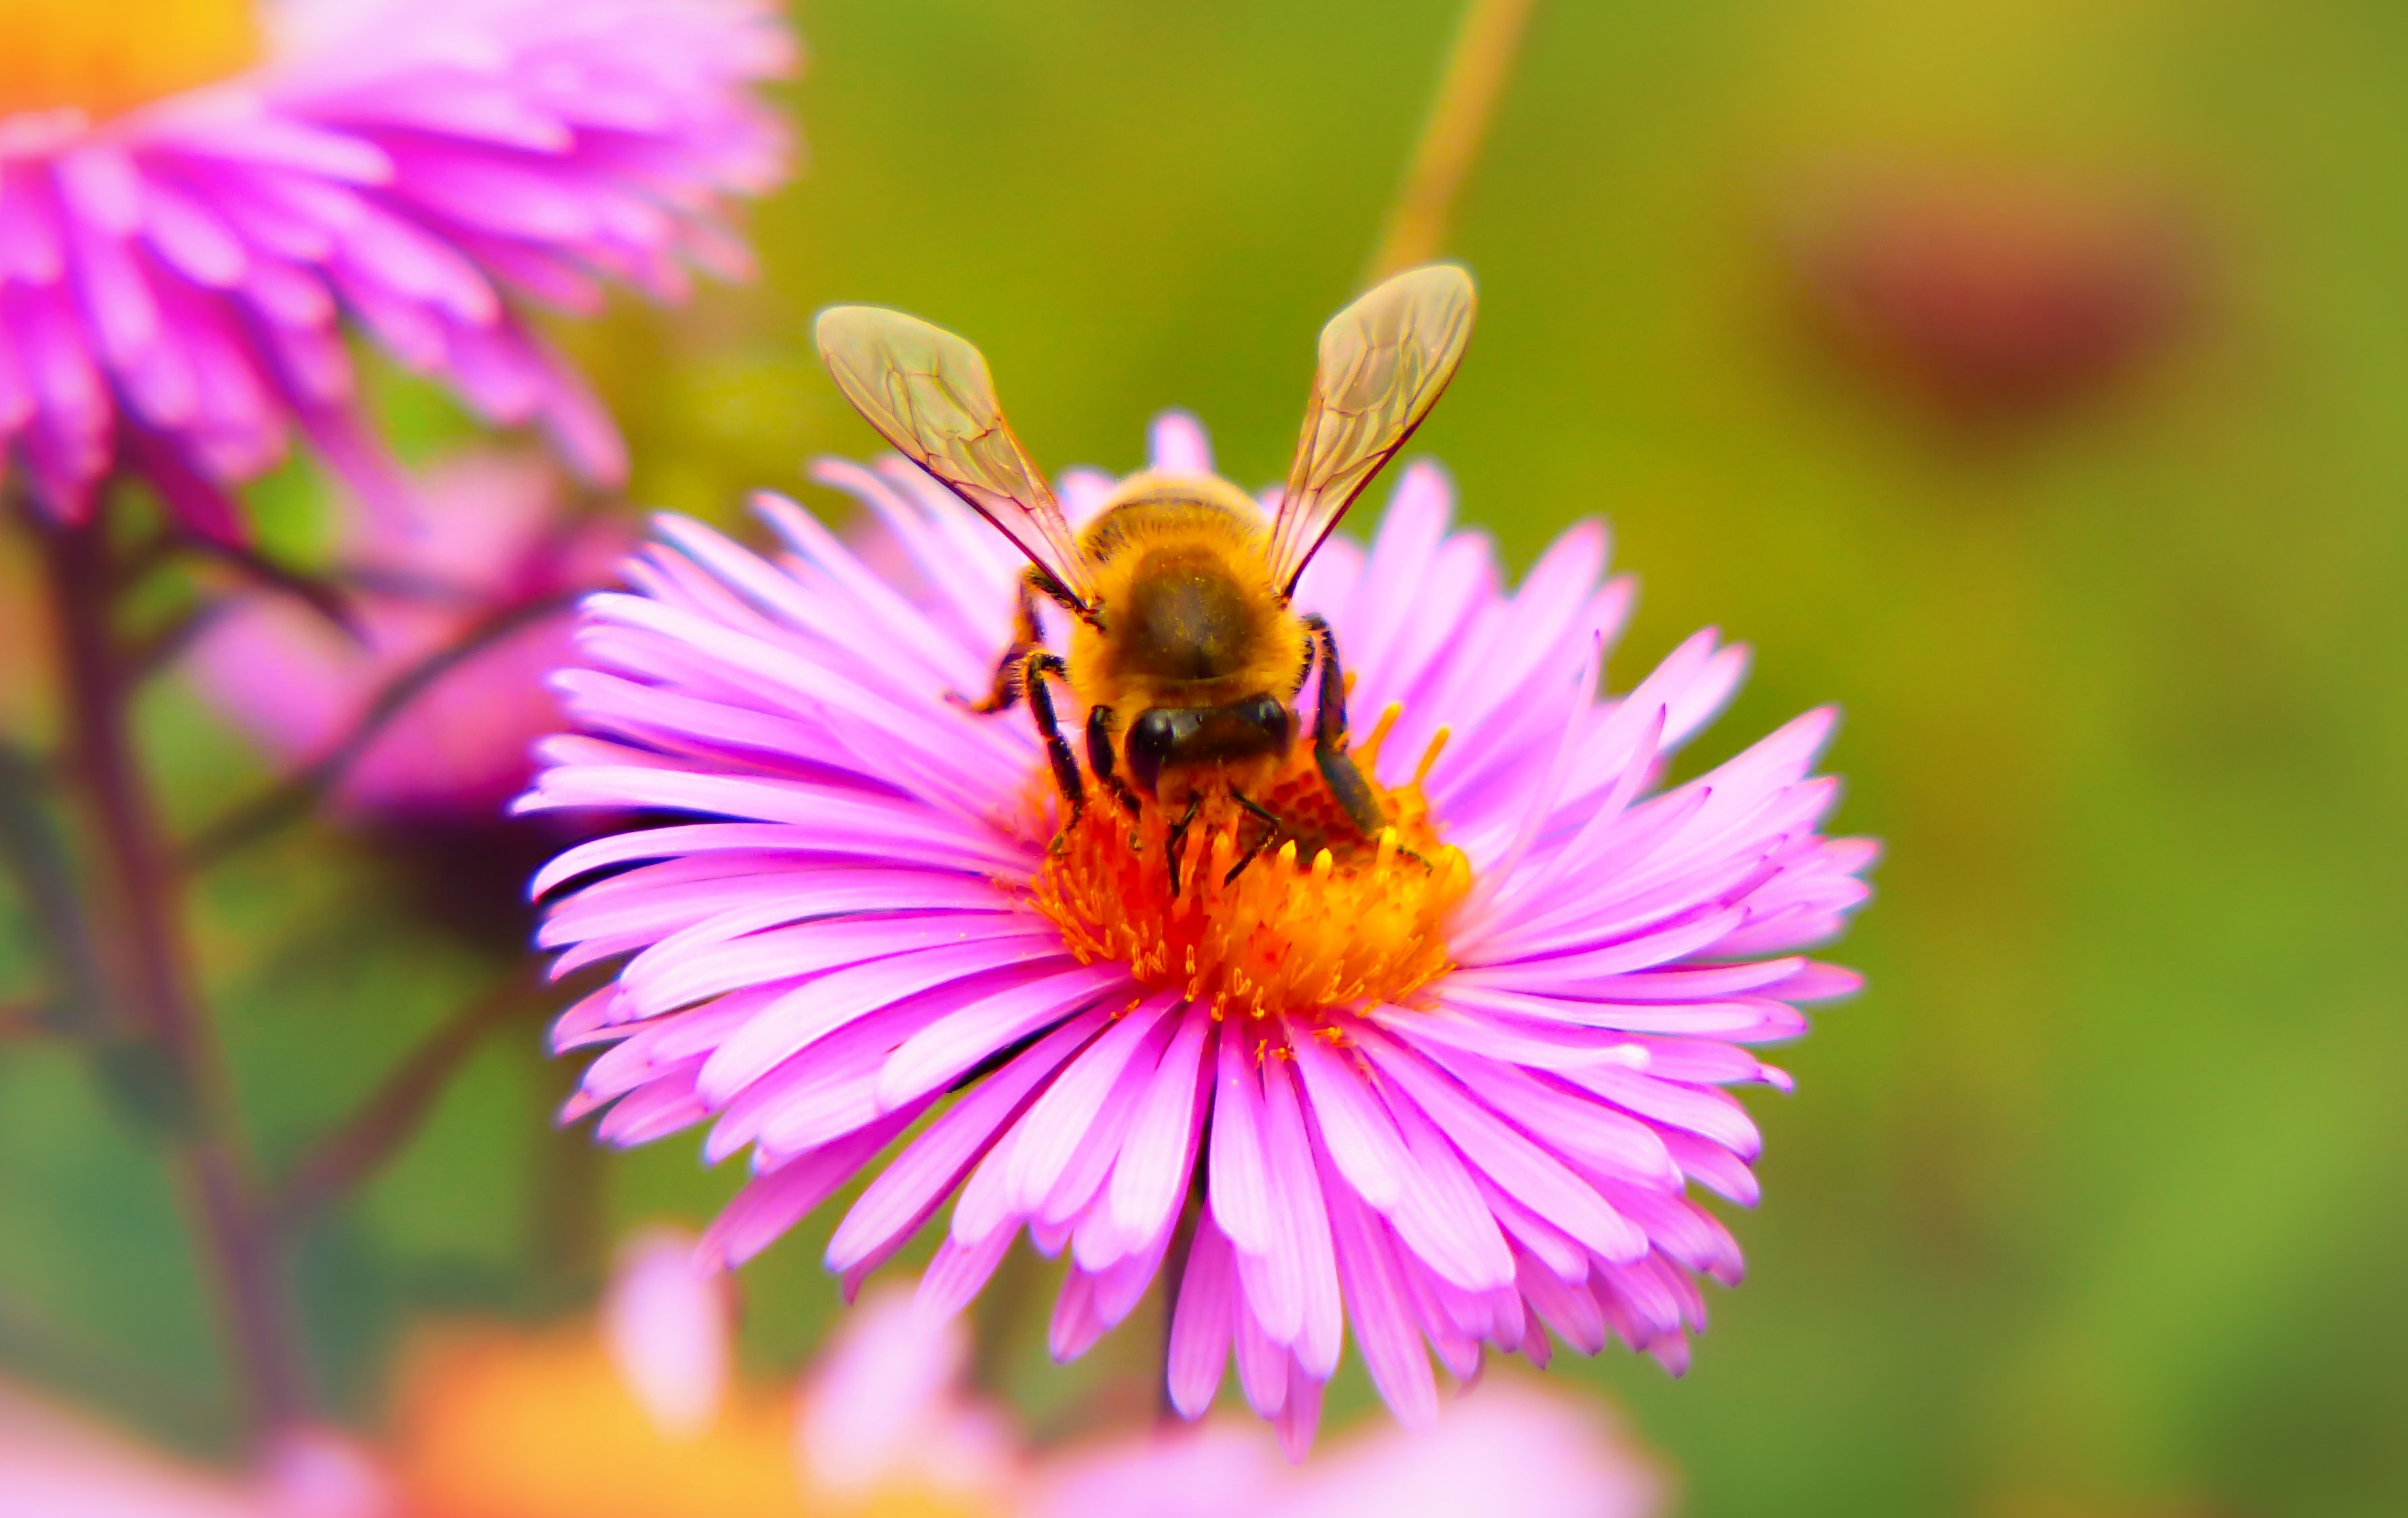
This time of year, the garden is buzzing with new life and vibrant blossoms are springing up everywhere. All this activity fires up the inner famer in many of us, and may have you considering making your own compost. Compost is an essential element to any garden and it’s so easy to get started!
Why Compost?
Composting is an age-old practice of replenishing the soil, and a part of the modern-day farming revolution called regenerative agriculture. Regenerative agriculture uses techniques like compost application to sequester carbon in the soil and reduce methane emissions. The full practice of regenerative agriculture, which includes at least 3 additional practices that contribute to soil health such as cover cropping, no-till and organic production, can have a massive impact if applied at a global scale: regenerative agriculture is highlighted as the #11 way to reverse climate change by project Drawdown[1].
In your own garden, compost acts as a natural fertilizer that costs next to nothing. By keeping fruit and veggie scraps out of the landfill, you save emissions from decomposition in the landfill, and ensure their nutrients are put back into the soil. Using them instead as organic fertilizer helps your bushes, trees, plants and flowers thrive.
In addition to saving carbon and boosting your soil, you can also save money on buying commercial compost and create a cycle of life in your own backyard. Whether you’ve farmed for years or are considering your first composting experiment, there is always something new to be learned and fun to be taught.
Home Composting
Starting a home composting system is can be simple as saving food scraps for an off-site composting service in cities like Portland, Boston and over 150 other communities in the U.S., and as hands on as starting a worm farm in your backyard. We will go over the basics of these systems and provide tips and tricks for all stages along the way.
What to Compost
In-home composting begins with about a 3:1 ratio of “browns” to “greens”. This doesn’t have to be exact, but does help with ensuring your compost bin doesn’t go anaerobic and create a green slimy sludge. Here’s the basics of what to put in your backyard compost bin:
Greens:
- Fruit scraps (no pits or “stones” from stone fruit like mangos, peaches and plums)
- Veggie scraps
- Coffee and tea grounds
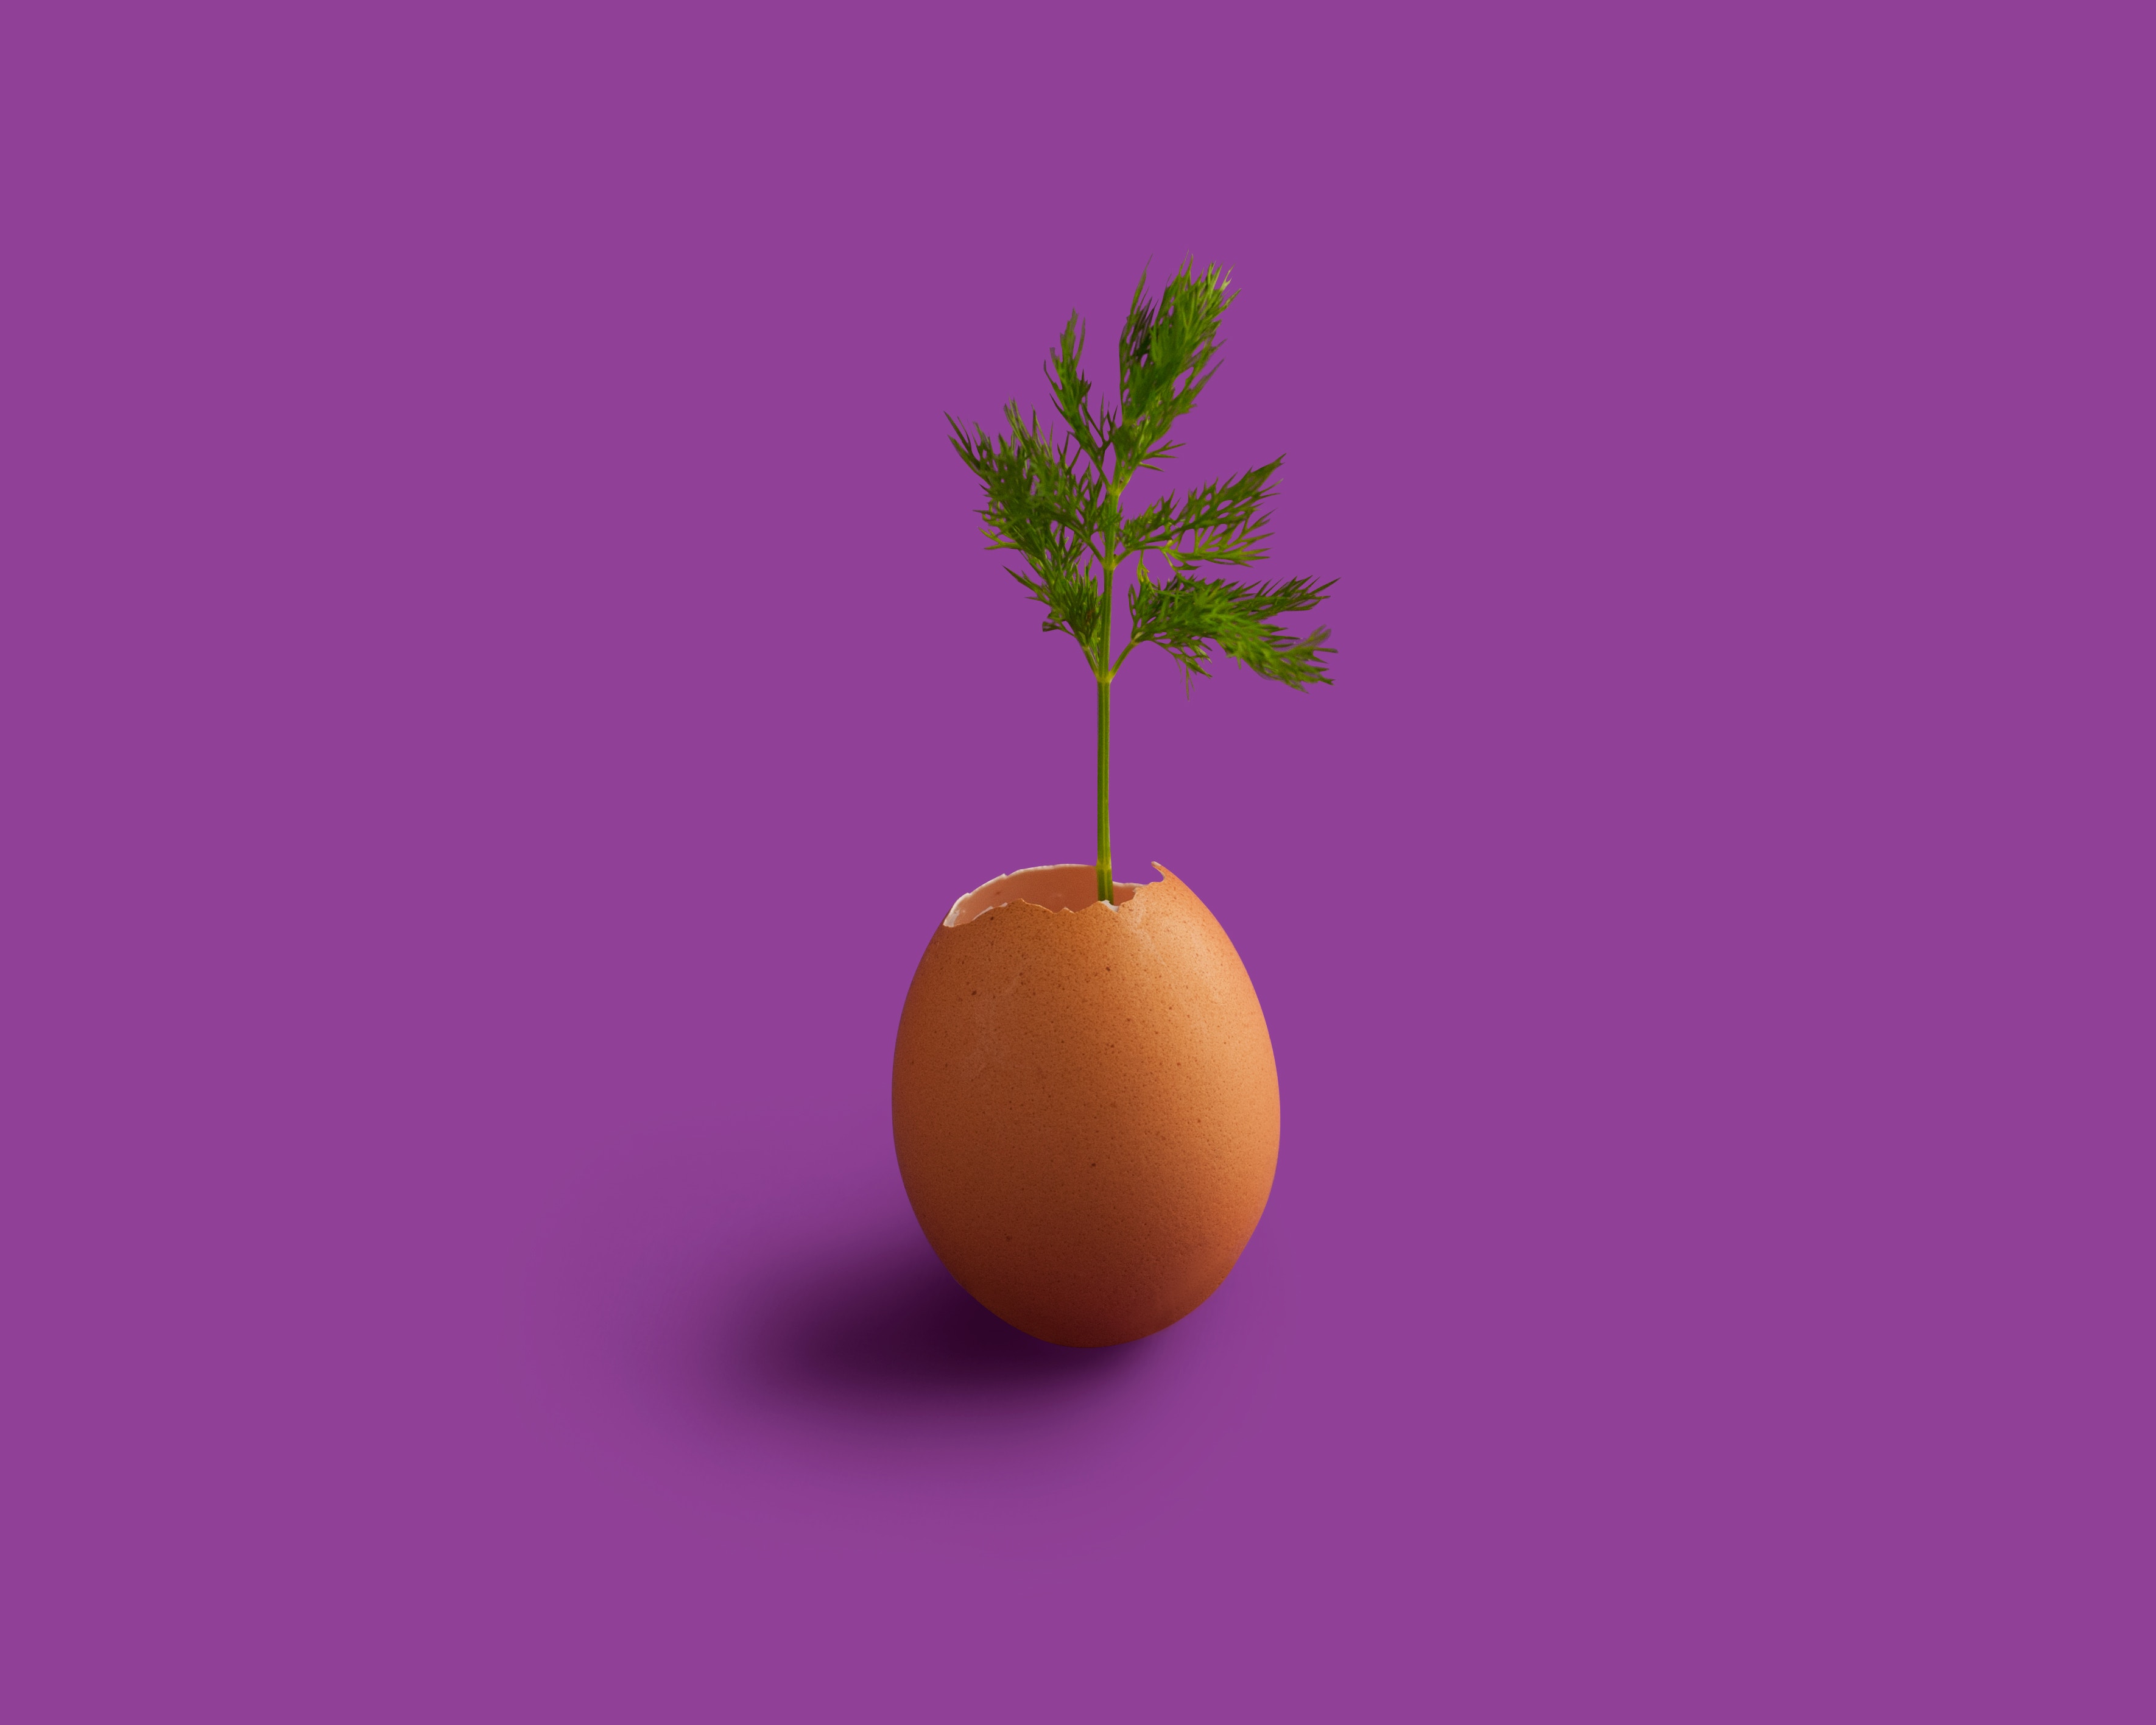
- Eggshells (these are also great directly in your garden!)
- Weed free grass and plant trimmings
Browns:
- Dry leaves
- Wood chips (no treated wood)
- Shredded newspaper
- Hay or straw
- Cardboard
- Wood ash from a fire pit or fire place
What Not to Compost
While most curbside composting serves will allow for all food products, backyard composting should NOT include things which cause smells and attract nighttime critters. For backyard composting, leave out:
- Meat and bones
- Fish
- Oils and fats
- Dairy
- Diseased or bug infested plants
Before You Compost: Creative Re-use
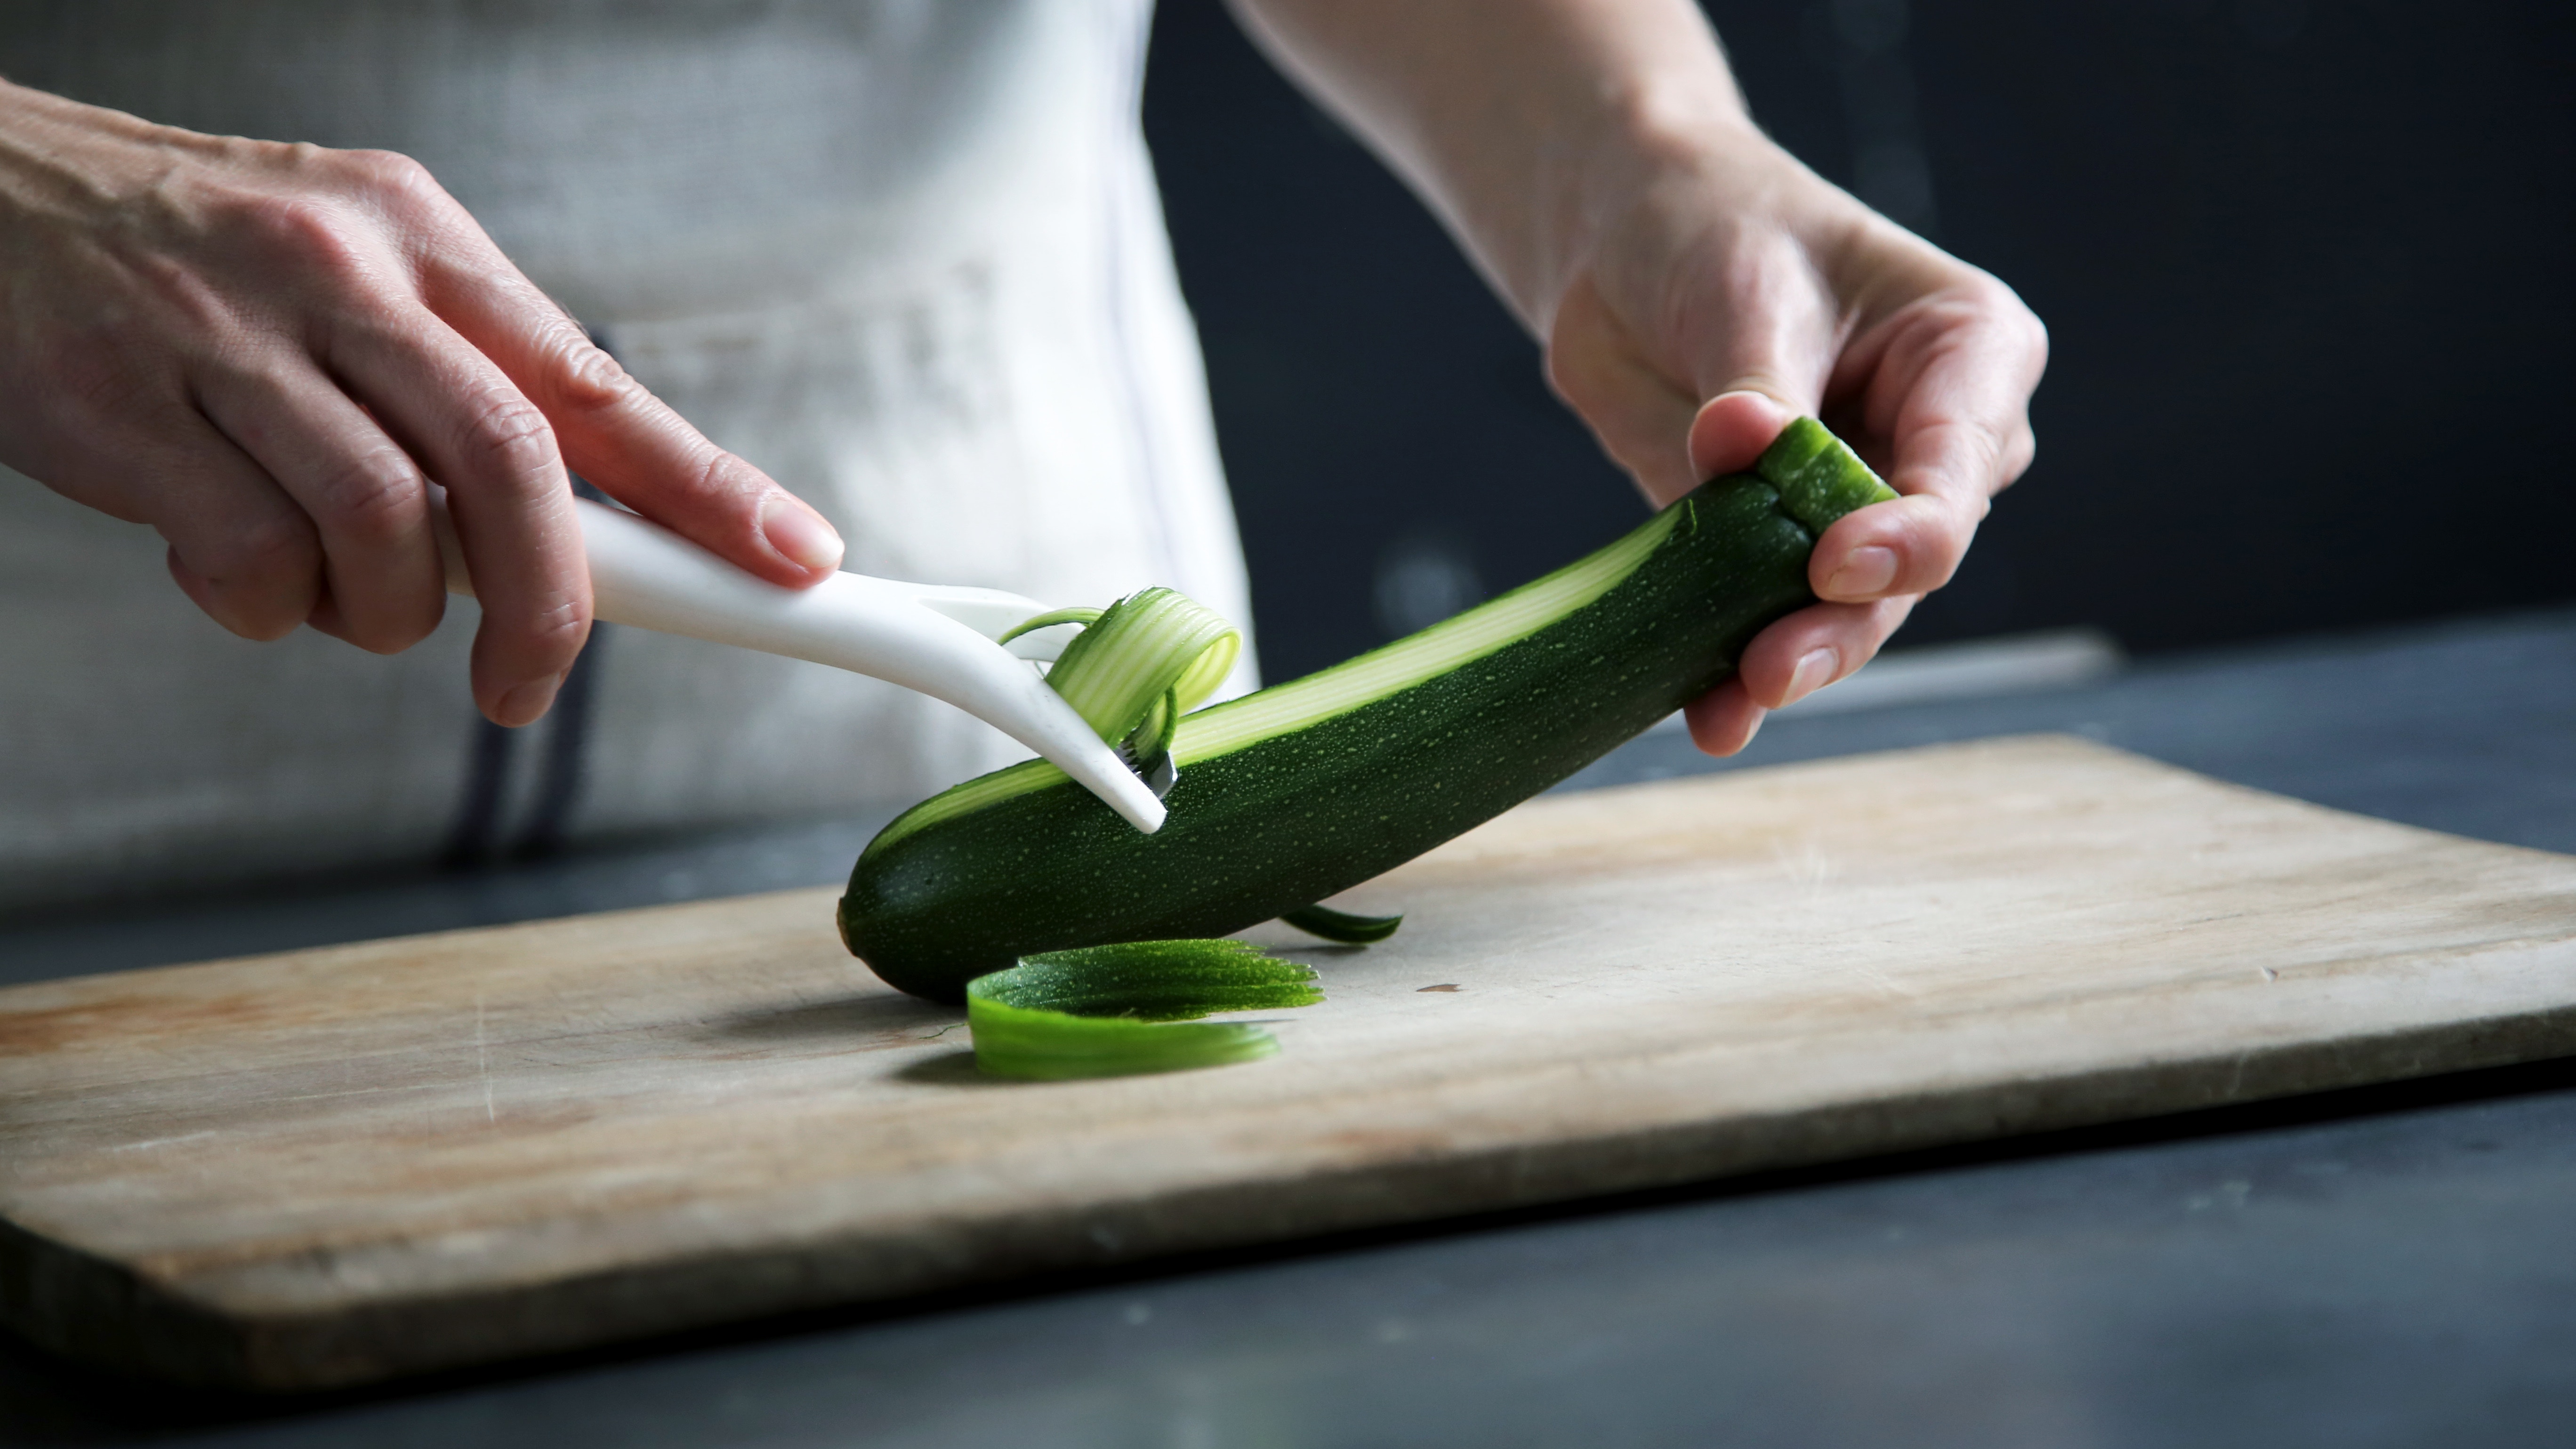
Get all the nutrients from your fruits and vegetable “scraps” by thinking creatively about what you’re tossing. For example, saving veggie scraps like onions and carrot tops in the freezer can be saved up and then made into a delicious veggie broth for your next soup base. Making a second use of your “scraps” saves money while eliminating food waste.
The tops (greens) of root vegetable are highly nutritious and delicious in a variety of dishes. My favorite are sautéed beet greens which is full of vitamin K, copper, manganese, iron and calcium.
In America 30-40% of all food produced is wasted, and of that over 40% is wasted in private residences. The average family of 4 wastes $1,500 worth of groceries, or about 20% of the annual purchases. Think about how much wine you could buy with that!
So before composting, think about what it is you’re tossing, and if it has a second life before hitting the compost cycle.
Chop, Chop!
Smaller pieces mean faster breakdown of material, so give your scraps a little chopping before tossing it in your bin.
Freeze it for Clean Composting
Want to compost in the kitchen but worried about the sanitation? Try putting your bin in the freezer when not in use and it will lock away the smells before they start, and will eliminate messes and keep bugs at bay.
The Compost Bin
Thanks to a resurgence of urban farming, there is an abundance of compost bins, buckets, and tumblers that protect your scraps from rodents and allow for a quick compost cycle available online or at your nearest home and garden store. Consider an enclosed tumbler for compost with food waste and another open compost pile for garden “green” and “brown” bits that won’t attract pests.
There are ample DIY projects for building your own compost container, from using barrels to create tumblers (perhaps a repurposed wine barrel?), to repurposing pallets for a bin, or simply using wire mesh to keep the critters out.
Maintenance
Once you’ve added all the ingredients, you can sit back and watch mother nature do it’s thing. You will want to turn your compost occasionally to give the microbes fresh air to do their work. If you can’t physically turn it, you can poke it with a pitchfork to let air in.
Water is another key to composting, but you don’t need much. If you’ve added enough “greens” you may not need any water at all. The compost pile should be moist but not soggy or waterlogged.
Clockwork
Depending on the size of the pile, what container you’ve stored it in, how you tend to it, and the weather, it will take anywhere from 3 months to a year or more for the decomposition process to take place. Chopping small pieces early on (even with the “browns”), keeping the pile manageable size, and turning it regularly speeds this process up.
Using Fresh Compost
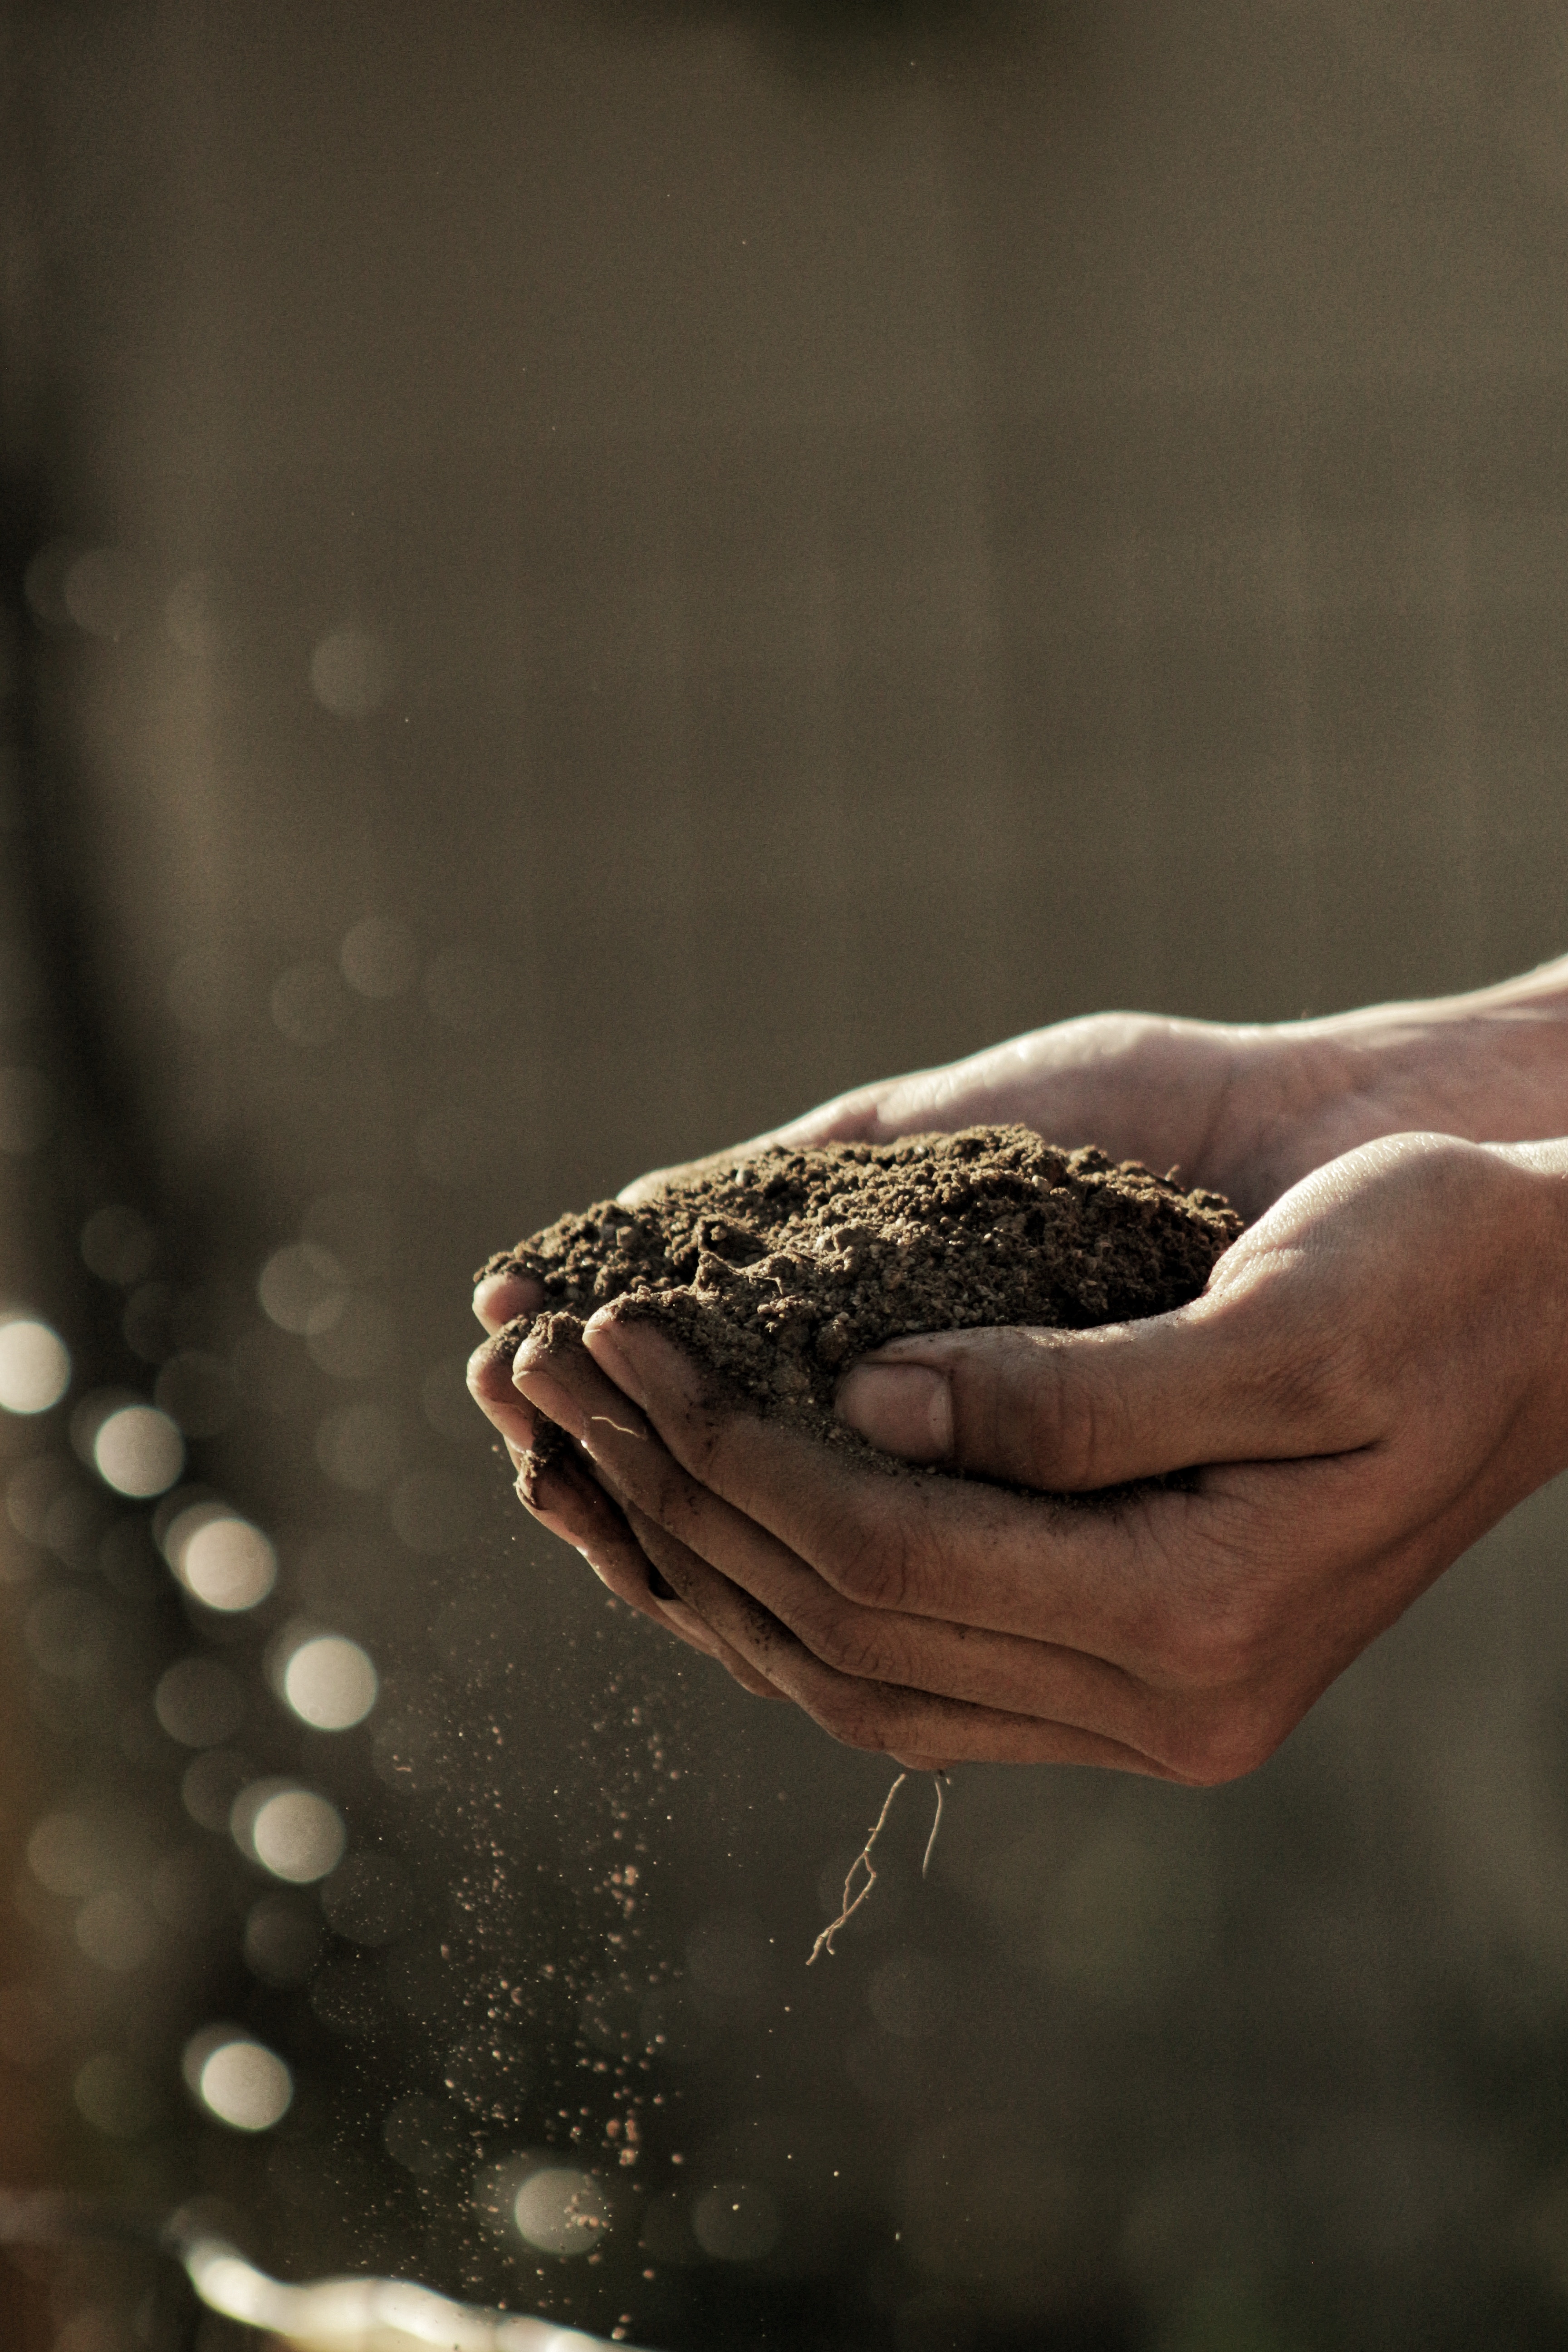
Once mother nature has done it’s work, you’ll find your compost is a rich, coffee color and is chocked full of nutrients. Once it’s ready you can use it anywhere in the garden – all plants will appreciate the fresh fertilizer. Adding this to your garden beds before you plant in the spring, or summer for fall harvests, will give your plants a head start to a healthy season.
You can add the compost to indoor plants too! Wherever you apply your compost in the garden, your plants will thank you.
Composting at Carmel Road Winery
The winemaking process uses grape pulp and juice, and the remaining seeds and stems are called pomace. Pomace makes up 90% of the waste for all our vineyard, winery and office, and today we are composting 100% of it.
Pomace is rich with nutrients that feed the soil, and we work with local partners to use the pomace to create compost so we can apply fresh compost to the vines each year. This process creates a closed loop cycle in the vineyard that results in higher quality grapes. Next time you’re sipping our chardonnay or pinot noir, raise your glass to mother nature!

